Thursday, August 9, 2012

American Bank Note Trains in Maine Decoupage Cuff

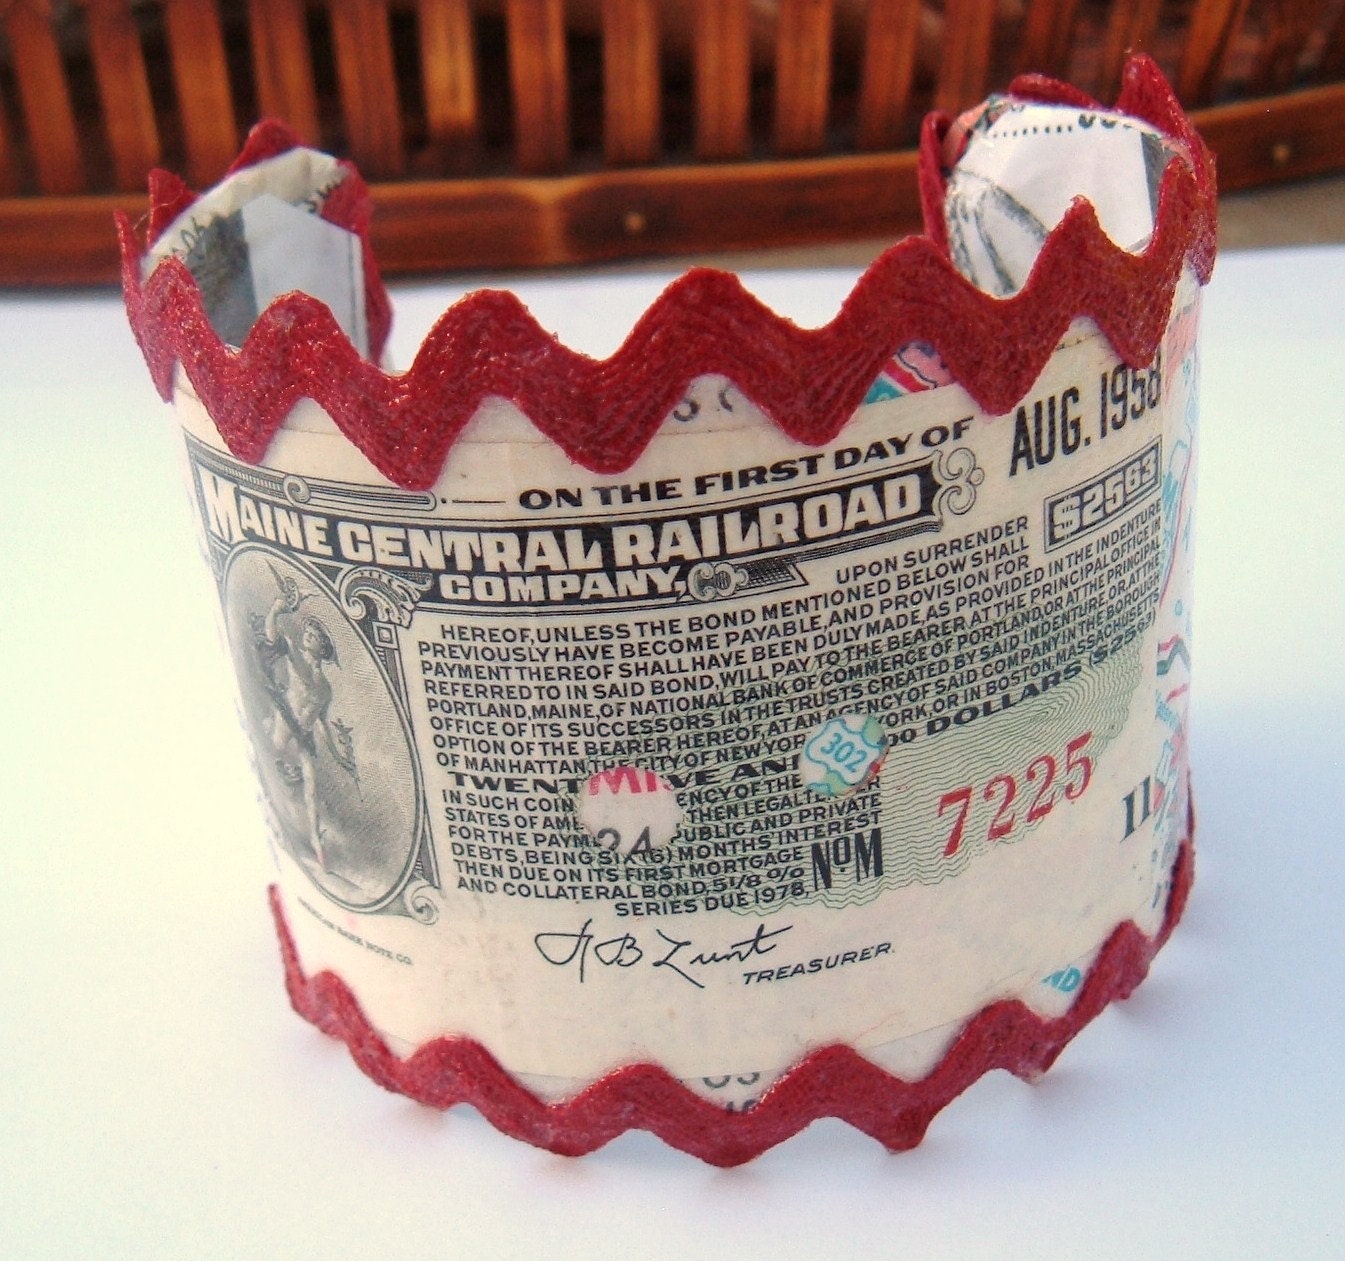
American Bank Note Decoupage cuff Bracelet OOAK Vintage Maine Central Railroad

American Bank Note Decoupage cuff Bracelet OOAK Vintage Maine Central Railroad
zoom
American Bank Note Decoupage cuff Bracelet OOAK Vintage Maine Central Railroad American Bank Note Decoupage cuff Bracelet OOAK Vintage Maine Central Railroad American Bank Note Decoupage cuff Bracelet OOAK Vintage Maine Central Railroad American Bank Note Decoupage cuff Bracelet OOAK Vintage Maine Central Railroad American Bank Note Decoupage cuff Bracelet OOAK Vintage Maine Central Railroad
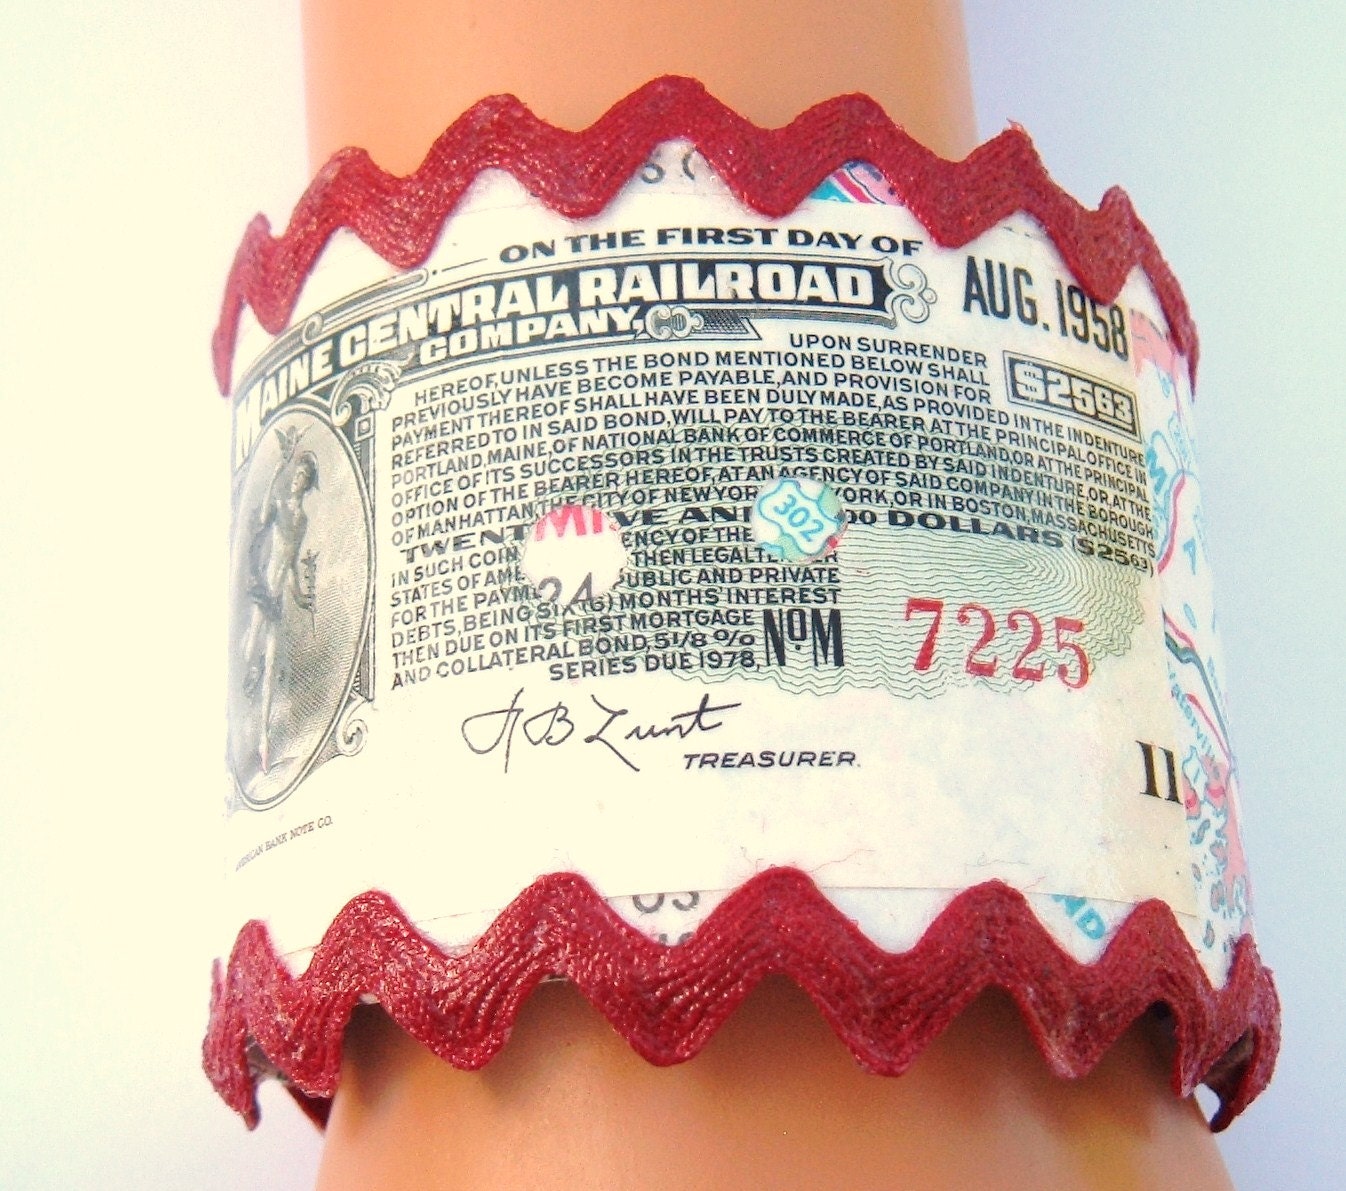
This one of a kind decoupage cuff bracelet was made with an original 1958 American Bank Note for the Maine Central Railroad Company. This is not a copy but the original ephemera piece. I placed it on top of an original vintage map...depicting Maine and Maryland. Then I added some red vintage rick rack to trim the bracelet. It is a 2" adjustable metal cuff.
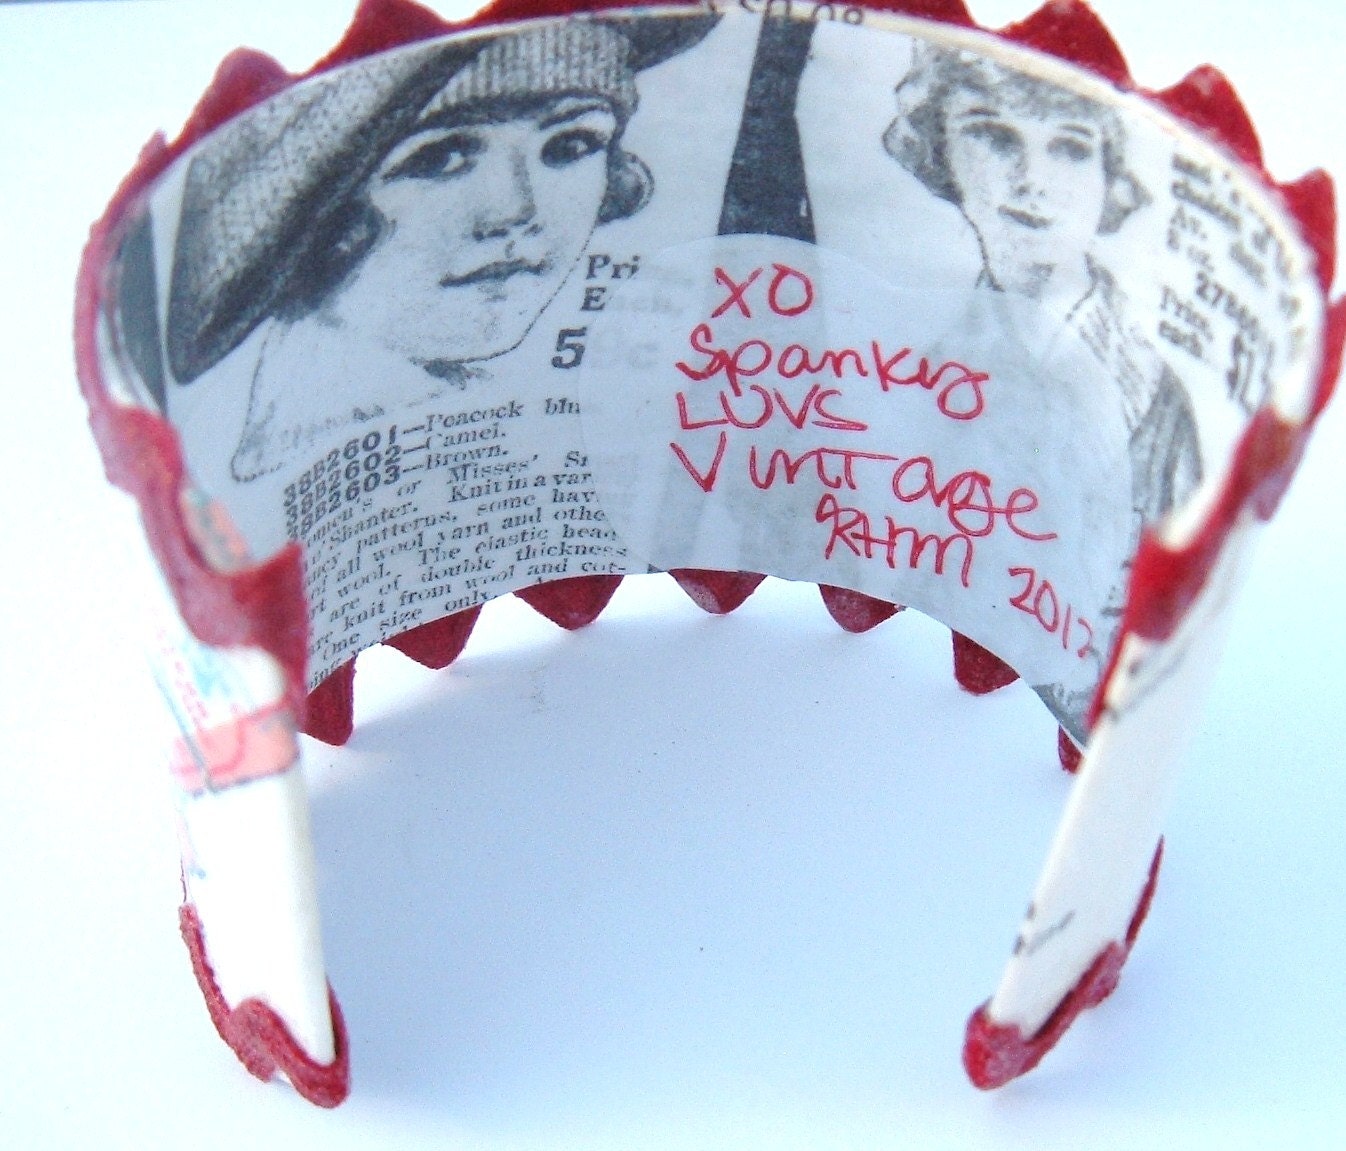
On the inside of the cuff I placed a copy of an old "Sears Roebuck "magazine and a signed heart from me....:)
I love to use original vintage pieces on my decoupage cuff bracelets....
They are truly one of a kind pieces and can not be duplicated unless someone else out there has the exact same vintage pieces <3 br="br">Thanks for looking!

Le Chicken Finger Lickin Recycled Kitchen Cart with help from Col Sanders and The Graphics Fairy

This is another piece that my nephew Larry bought at a storage auction and I had time today in between all of my other projects to work on it.


The kitchen cart had several cracks and a lot of them I left as they were....(because I wanted to LOL !).  I did fill some of them in with caulk.  And then I used a pretty easy painting method.  You simply take a darker color and spread it on the piece.  Let it dry and rub out some places if you want the original wood to show through.   Then I took a rag and "washed" over the surface with a lighter color paint...leaving some places darker than others.  You really can't make mistakes here....you just rub away until it looks good to you :)
I started on the top of the piece with another wonderful graphic from "The Graphic Fairy's" Blog....an image of some old chickens.   I used the decoupage method of putting on some mod-podge... burnishing the image and then peeling the paper away.
Then I remembered a vintage image I had saved quite some time ago of Colonel Sanders and a gal eating a piece of his  finger licking chicken.
So I copied that onto tissue paper and decoupaged that onto the surface and then stamped some silver ink on top.
I then printed out the phrases in "Word Pad" that I placed on top and added them with decoupage after "burning" the edges.
Next I sponged on a few hearts after drawing them with a pencil and then filling them in.
Then I painted on a design on top of that by using a piece of vintage lace.  You just apply paint to the lace  and press it on where you want it to go :)
After that I attached some vintage buttons and poured on a bit of resin.  Then some polyurethane and some clear coat to the entire piece. And here is the new old "Le Chicken Cart".....


Monday, August 6, 2012

A new old Piano Stool thanks to a little paint decopauge and The Graphics Fairy :)

My Nephew Larry has been buying a lot of old stuff at "storage auctions" and estate sales and he cracks me up because he is always stopping when he sees people on the corners with stuff set out for sale.  It's in our DNA I guess. There's just no getting around it....you either love doing this kind of thing or you simply think it's a waste of time messing with old junk....LOL!  So the other day at work I took home a couple of pieces that he had bought....and today....my day off I had time to re-do the first one.
This old piano stool with ball claw feet was pretty cracked and jacked.  

 So I first got out the sander and went to town on the top of the stool.  I also filled in the big crack with some "caulk" and then went back and sanded that down.  Then came some white paint that I mixed with some beige paint.  And then some blue paint mixed with more of the white paint that I had a big bucket of in the garage. (Use what you have is my motto whenever you can ..you don't have to run out and buy something new to make something new.) It's pretty simple...as you are painting--- simply rub out some areas...rub harder in some areas than others..to get that distressed look with the original wood showing through.
I also have this old "sea sponge " that I am constantly using on just about everything.  To me...the best part about sponging is that you can actually very easily cover up "mistakes" :=)
So for the top of the stool....I went to my favorite on-line go-to when I am too lazy to search my own images.....
The amazing  Graphics Fairy...
http://www.graphicsfairy.blogspot.com/
She has an amazing blog (one of my all time favorite blogs LOL ) with free images and a lot of inspiring tips and info.
She has a great tutorial there about copying onto tissue paper and adding it to a project....(which is what I did for the center image)...I used some white polka-dot tissue paper and I really like the way the dots show thru the finished image.
For the other images...I simply used some more of the Graphic Fairy's great graphics....printed them out....put some decoupage on the top of the stool.....burnished the image...and peeled away the paper.  Some of the paper whenever  I use this method always "sticks"....I'm not sure if I am just too slow-mo these days or what....but it is pretty easy to wet your fingers and "touch up" what you don't want to leave on your project.  Just don't rub too hard.....until you get the hang of it....you yourself will know when it "feels just right" :=)
So then I stamped on some gold tone  ink and I added one more coat of decoupage to the top of the stool before I sprayed it a few times with clear gloss.  I myself tend to always spray things a bit heavy so I make it a point to stand further away from the item I am clear coating :=)
Last...I added some polyurethane to the top of the stool. (I also want to add from my own experience that when I am using things like polyurethane....to me....it is much easier to apply it with a piece of an old tee...or rag....I used to always fight the finish if I was using a brush....and a nice soft old rag makes it so much easier to apply the final coat.)
And here is what it looks like now....


If you have any questions about this project I will be happy to try and  answer them for you :)
Hope ya'll have a great week!

Saturday, August 4, 2012

Momma Jo Blooms and my heart smiles

So this morning I was headed out to work my day job and hubby of course is off on the weekend and was on the porch to give me a peck and see me off...and I looked down and said "Oh no...I wanted to get a pic of Jo's flowers before they went bust"...because the blooms in this 100+ degree weather are getting a bit droopy....
My mom-in-law....Momma Jo gave me about 20 bulbs probably 6-7 years ago....I don't even know what these flowers are called..she wasn't particularly  proud of them..just said they grew like heck...and gave me a bunch of bulbs....
Momma Jo was a rose lover..she had tons of bushes and her "Elizabeth Taylors" were her real pride and joy.....when hubby and I drove by the old house a few weeks ago and I saw that they had cut down her beloved rose bushes...it brought a few tears to my eyes...but hey....life goes on...These are the pics I took this morning of the blooms after they have been in the heat for a couple of weeks..I think they are still surviving quite well..even though I did not capture them in their first blooming  Glory :)

Ever since she gave me these bulbs I have done nothing except for the fact that I first planted them in the ground and give them water and every summer at least 4 or 5 of them in different locations continue to bloom....one year to the next different bulbs will sprout up and it makes me smile every time I see them.
Thanks Momma Jo
RIP...and by the way..I think Elizabeth T would love these flowers :)

Tuesday, July 31, 2012

Out of the cage birds for your ears

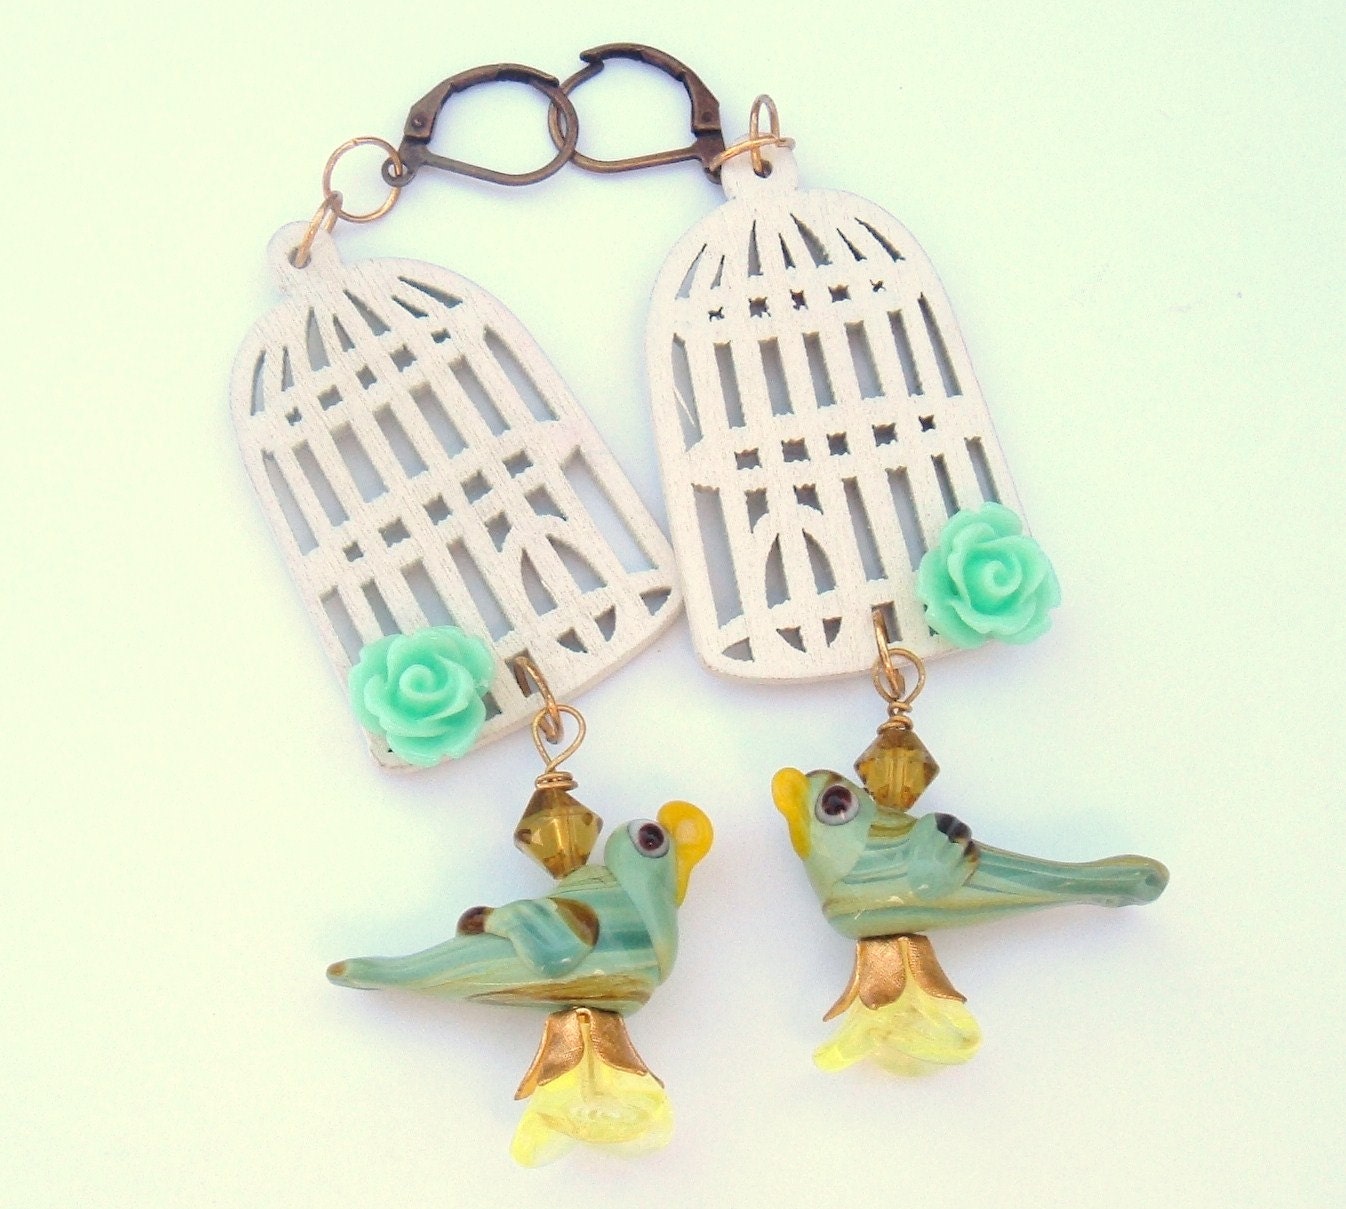
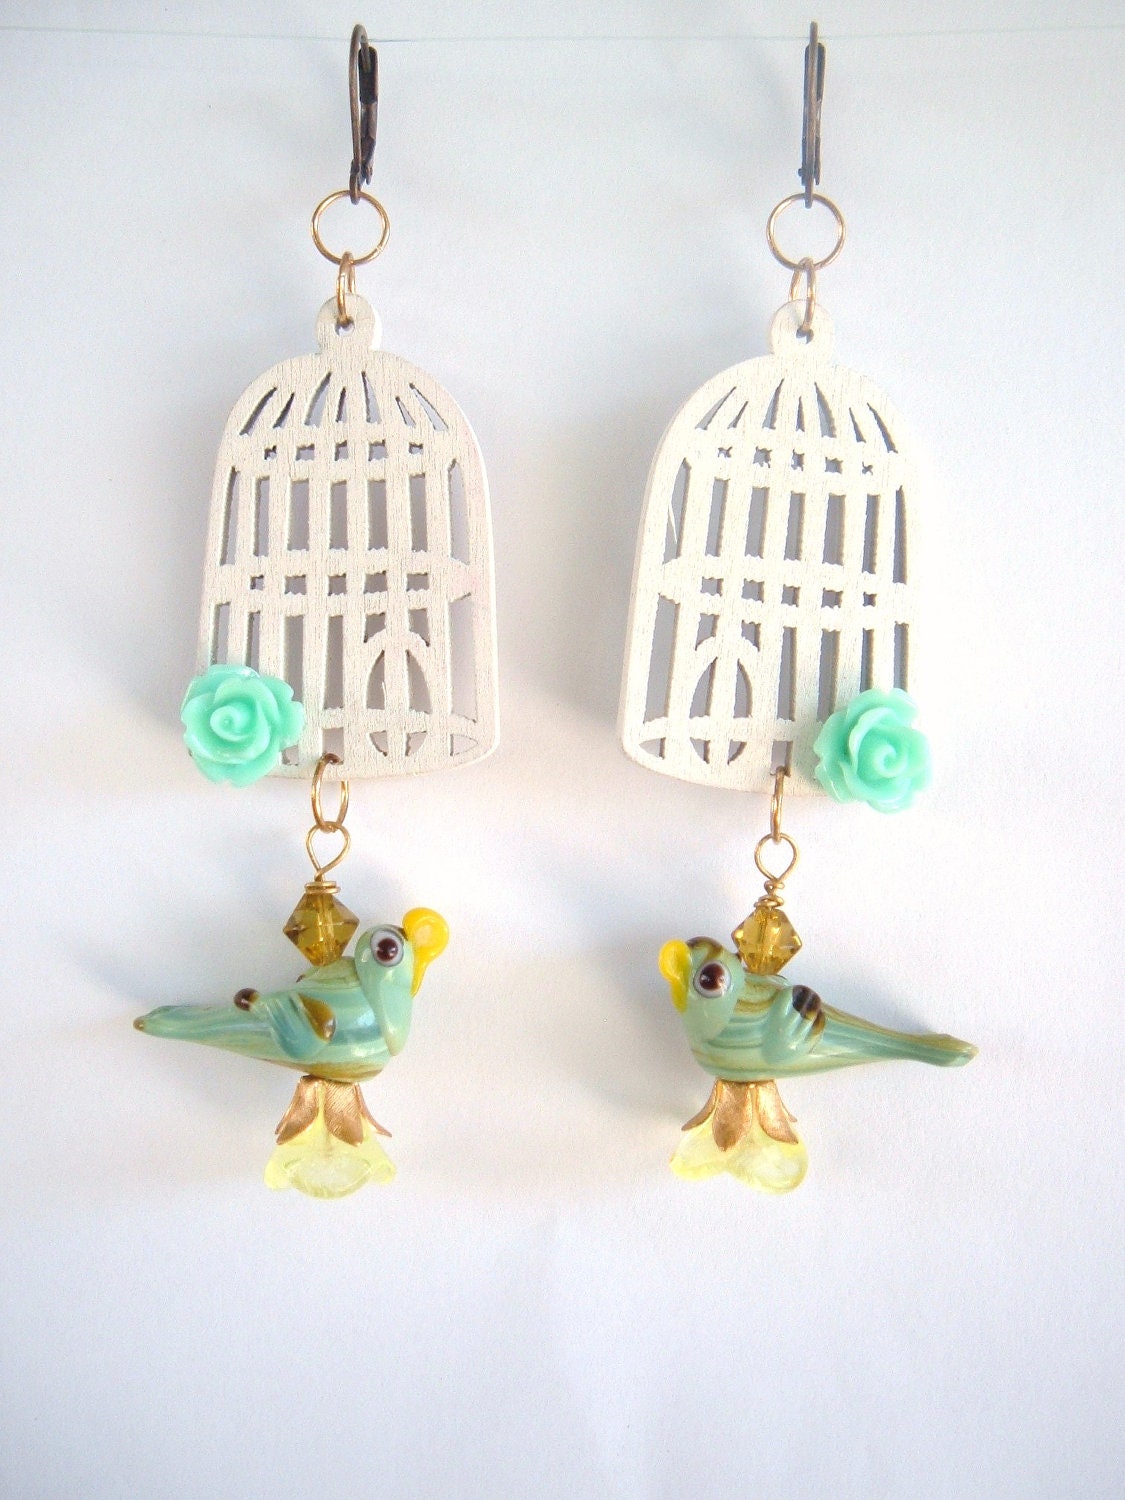
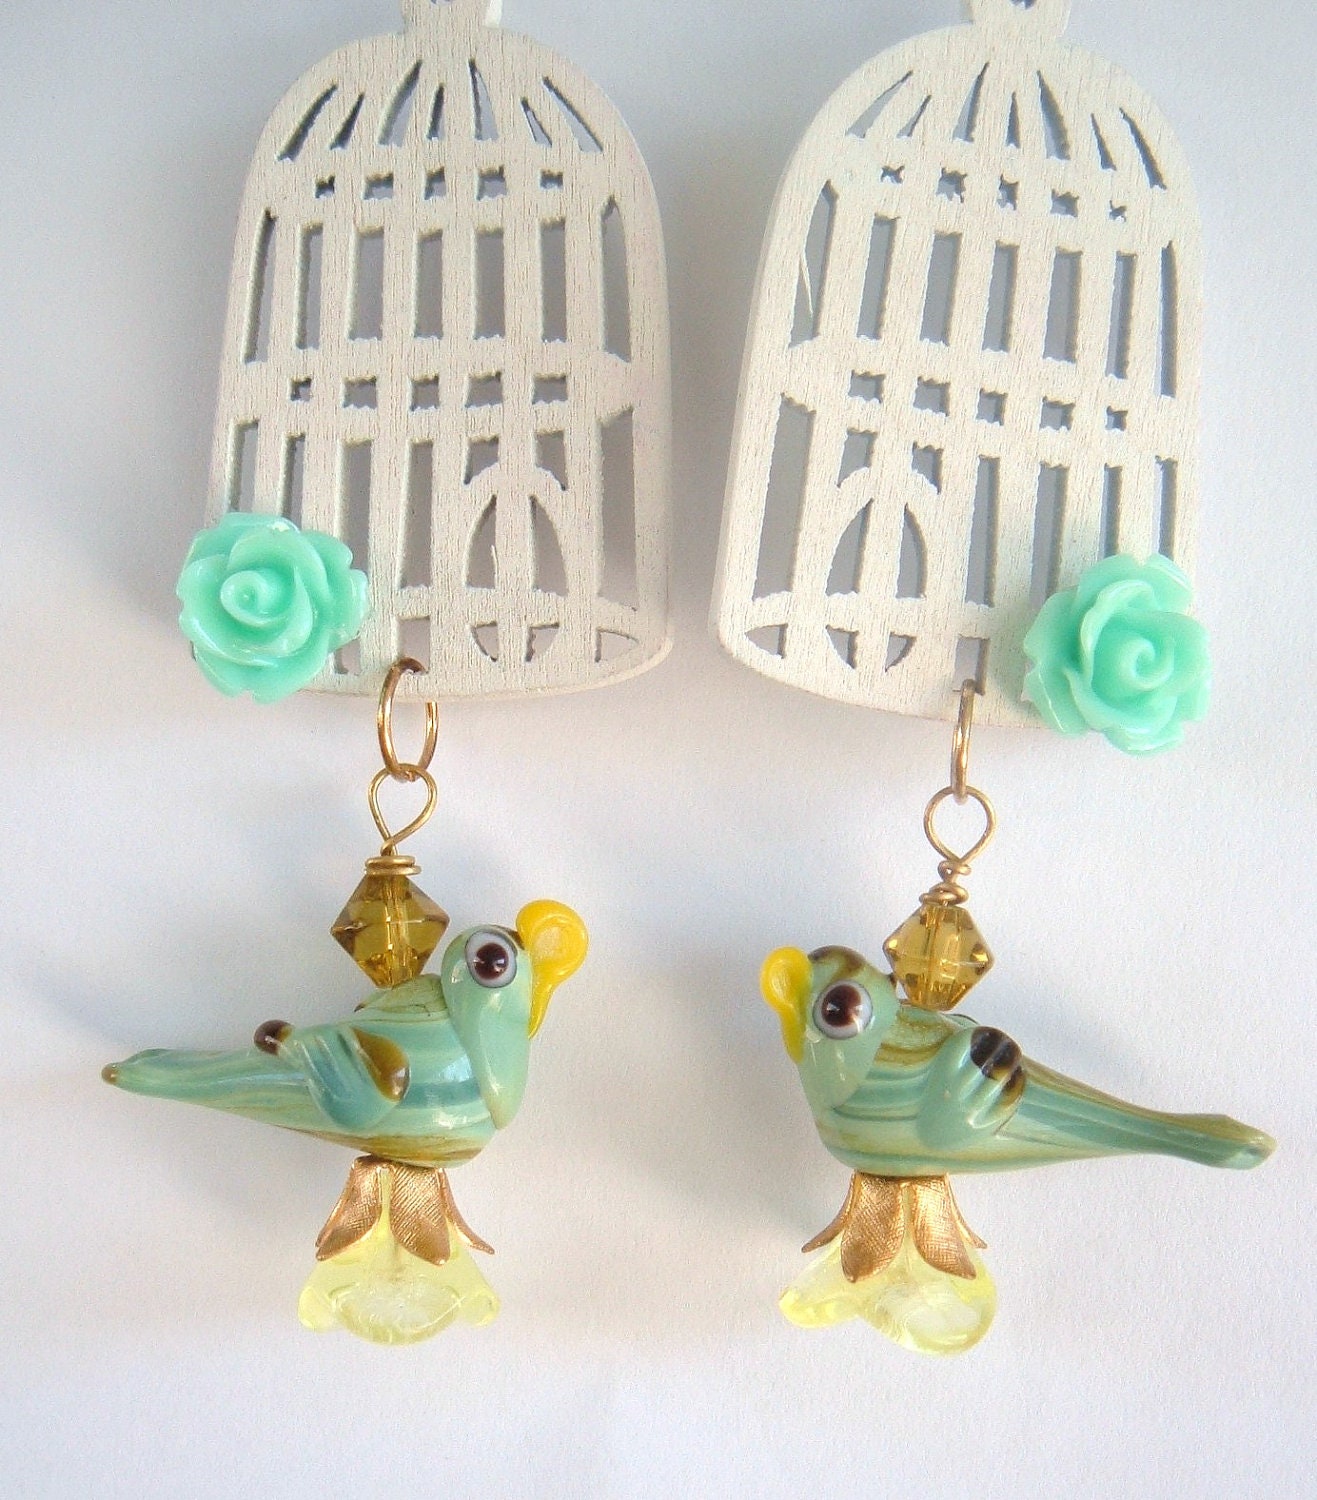
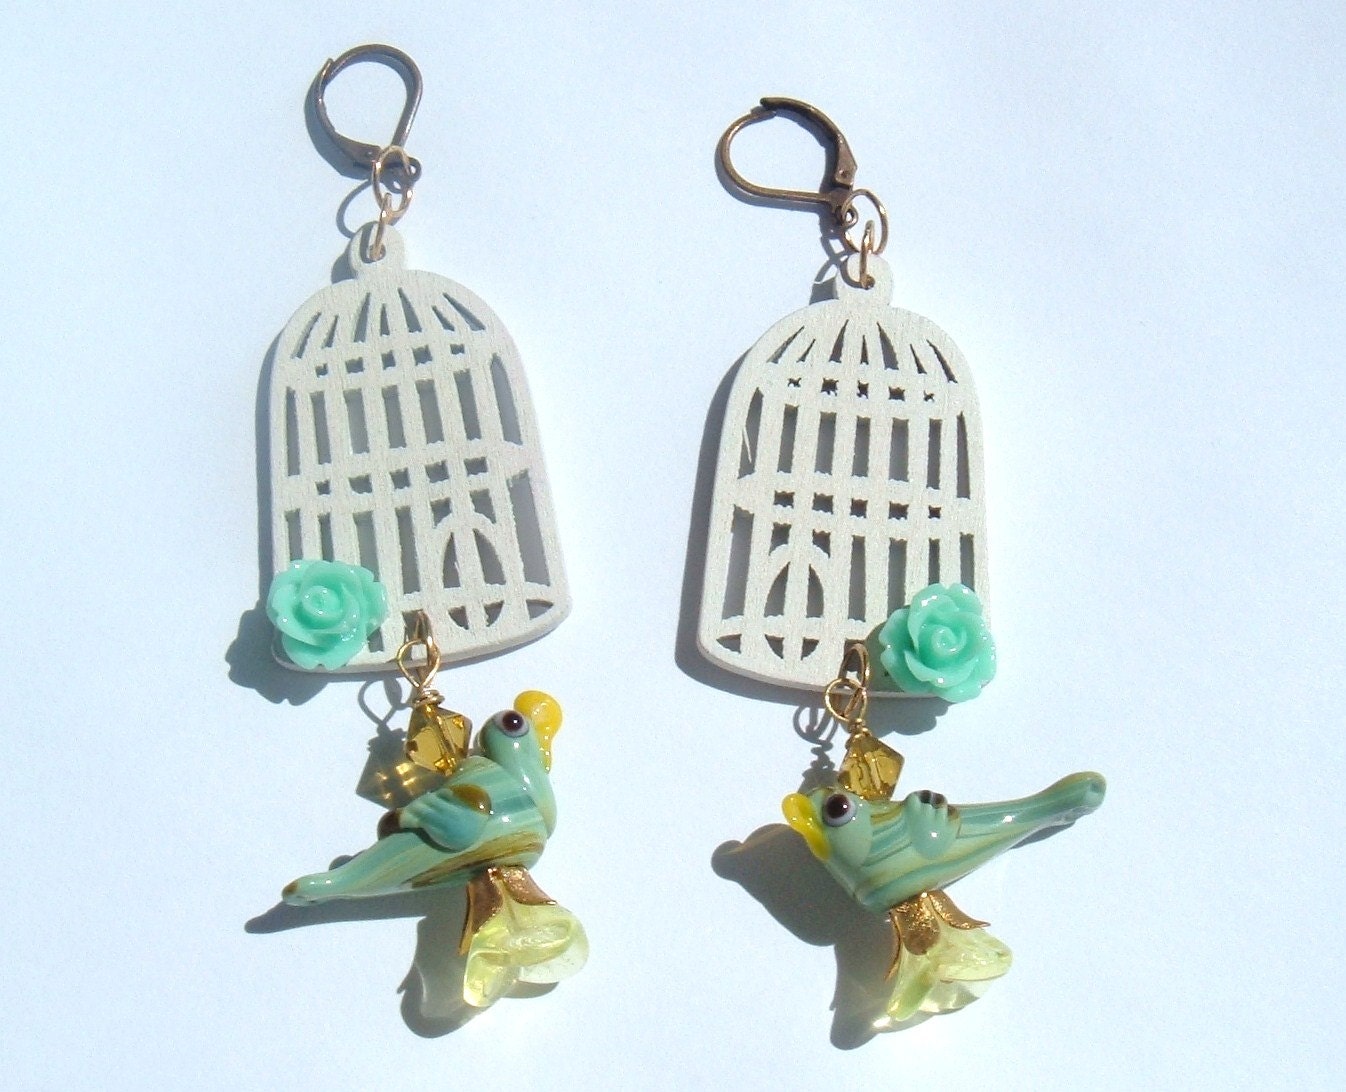
I listed these in my eclectic kinetric shop on Etsy yesterday. I love the colors on the glass bead birds :)

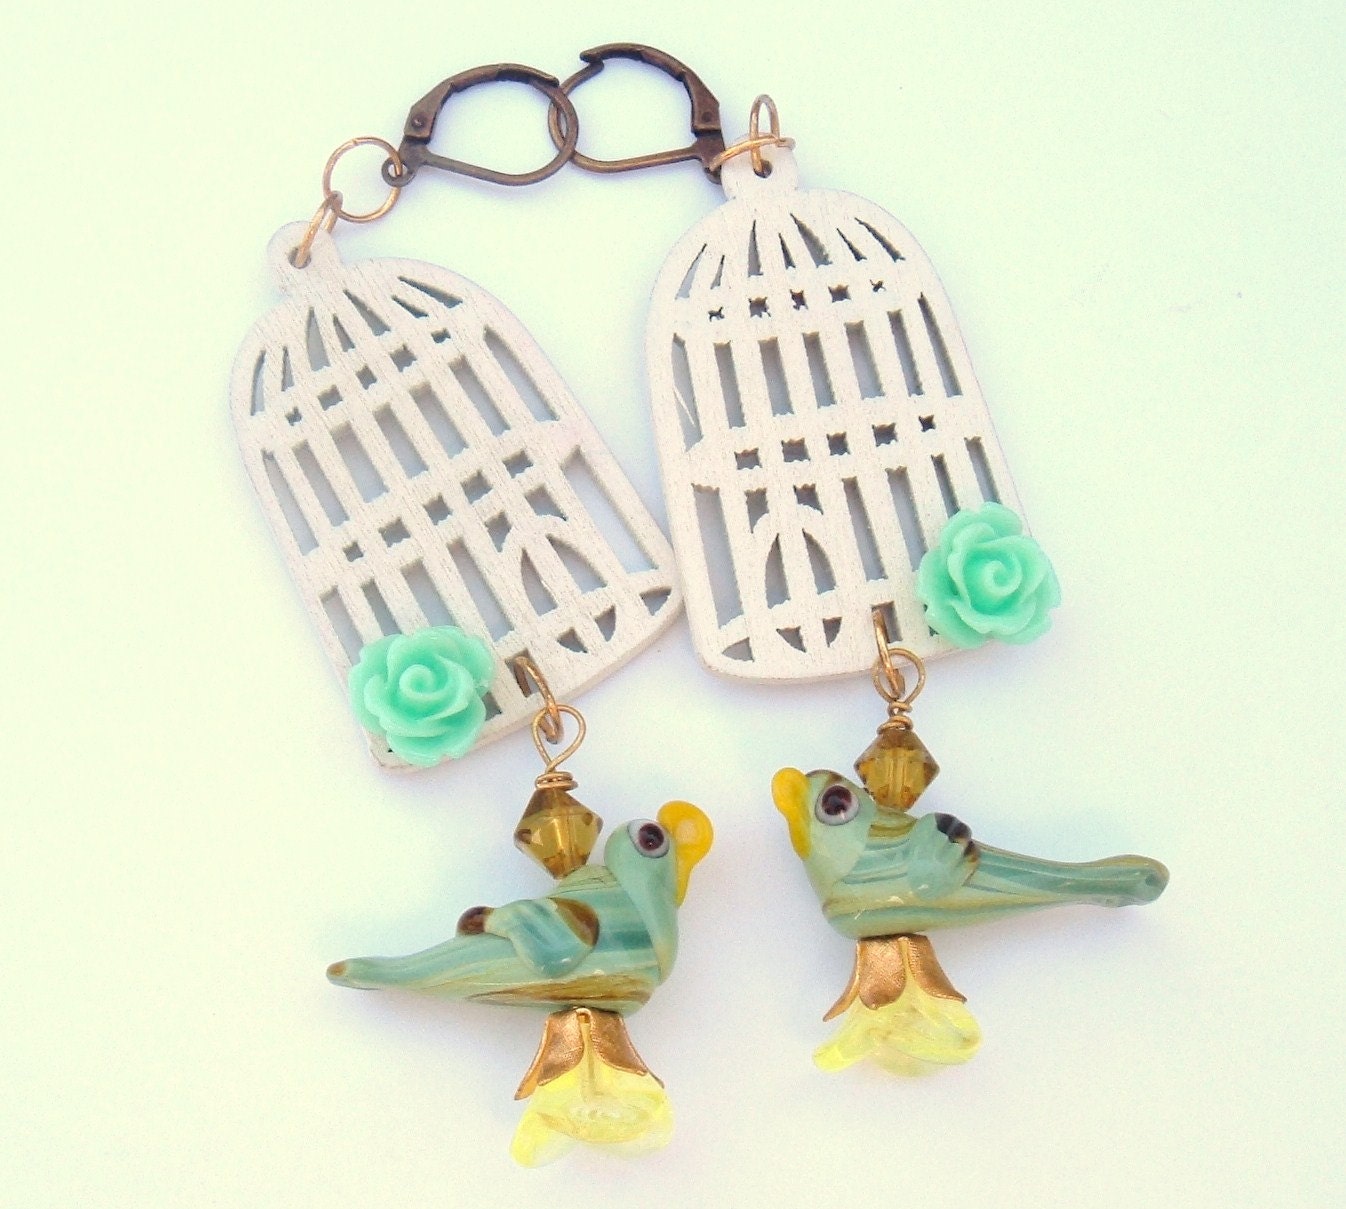
Birds Out Of The Cage Fly Away Handmade Earrings

Birds Out Of The Cage Fly Away Handmade Earrings
zoom
Birds Out Of The Cage Fly Away Handmade Earrings Birds Out Of The Cage Fly Away Handmade Earrings Birds Out Of The Cage Fly Away Handmade Earrings Birds Out Of The Cage Fly Away Handmade Earrings Birds Out Of The Cage Fly Away Handmade Earrings
White wooden bird cages blue glass bead birds yellow glass flowers green glass beads and a plastic blue flower are all hanging out on this bird nest fest.
They are 4" tall.
Thanks for looking!
Have any questions? Contact the shop owner.

Sunday, July 29, 2012

A nice little pat on the head LOL!

I saw this on FB tonight and simply had to share it.....
 YESSSSS.......I busted out laughing <3

Shout out to my fab nephew...on hitting that stride and winning 2 straight IMCA Modified Mains

Luv ya and so goshdarn proud of ya little Larry!  Had to send a shout out here :) When I asked you the morning of the race....."How is your right foot feeling? Heavy or light?" Lead foot Larry Junior... hee-hee....I take great PRIDE in your stride young man.....Congrats dude...keep it up &  WHOOOOOOOOOOO HOOOOOOOOOO!!!!!!!!

Hood wins 2nd straight IMCA Modified main

BY MIKE GRIFFITH Californian staff writer mgriffith@bakersfield.com
Larry Hood has hit his stride.
Hood powered into the lead on the sixth lap and led the rest of the way to win the 25-lap IMCA Modified feature on Saturday night at Bakersfield Speedway.

Related Photos


It was the second straight victory at the third-mile clay oval for Hood, who had trouble just finishing races in the five previous events.
"We've had about a month and a half of bad luck, just racing stuff," Hood said. "This is awesome. Just awesome."
Hood started the season with three straight top-eight finishes. Then came five races where he placed 17th or worse.
"It's been a while since I've won two in a row," he said. "I love it. It's what we come here for, to win, but it doesn't always happen."
Hood pulled out to a 10-car length lead before a caution bunched the field on the 10th lap. He jumped out to a big lead on the restart only to have it evaporate with another caution on lap 14. One lap of racing produced another caution and the final yellow flew on lap 16.
Hood got a good jump on Gary Dutton on the final restart and held on over the final nine laps to win by two car lengths.
"Larry caught me asleep there on the last restart," said Dutton.
Jay Marks finished third, just ahead of Joey Yantis and points leader Brad Pounds.
David Childress pulled away over the final few laps to win his first Sports Mod race in just his third outing this season.
Childress took the lead midway through the 25-lap race then held off Randy Schweitzer to get the win.
Eric Cimental finished a close third with Loren De Armond and Robby Witwer right behind.
The American Stock feature was not completed at press time.
Cory Elliott of Bakersfield raced to an easy victory in the 20-lap USAC Ford Focus feature. It was just the third race in the division for the 12-year old, who finished runner-up in his first two outings. Elliott finished about a third of a track in front of Michael Steel.
Anthony Balcazar took the lead with five laps remaining and went on to win the 15-lap senior division Mini Dwarf feature. It was his second straight win and fourth of the year. Troy Morris III started on the front row and led every lap en route to his first victory in a caution-plagued 12-lap junior division race.